Showing posts with label decorating. Show all posts

5.26.2011

summer "mantel"

i love mantels, and have no fireplace in this house....
but that has never stopped me before :)
i just used a newly "antiqued" shelf as my mantel


up against the newly hand-painted wall paper wall in our spare room,


added some things i had around the house
like my reusable spring wreath,
 a few of my vintage finds from a few weeks back,
and some canvases that i modge-podged with cut out pictures of norman rockwell prints (from an old book).
put it all together and...
voila! 


not too bad considering it was just a white wall a week ago.


i seriously cannot contain my excitement about it being summer (almost).
it sure feels like it around here (it was in the 90's today and humid)
i don't care though...
summer is my favorite!


if you look closely at the prints you'll see many of the things i love about this season:
swimming (and the beach of course--countdown is T-16 days!)
fair (i'm a 4H girl at heart),
fourth of july,
and
evening drives in the country, just naming a few......

what do you love about summer?

The Lettered Cottage

and linked to:
The Shabby Nest

Join  us Saturdays at tatertotsandjello.com for the weekend wrap 
 up           party!


oh and don't forget.....tomorrow is "photo friday." 
come share your "anything photography-related" post from this week.
all photography levels welcome--believe me.....i'm as amateur as they get!


5.25.2011

hand painted wallpaper: tips

as part of my 11 weeks 'til summer cleaning and organizing challenge, our spare room got a bit of a makeover.
it is a super small room,
we're talking less than 150 sq. feet  (but it does have it's own bathroom!).

anyway, i wanted to make it seem bigger and wanted it light, bright, and fun.

so i created a "feature wall" that is hand painted wallpaper based on the pearl trellis wallpaper at ballard designs. 


oh, did i mention their wallpaper is $119.00 for a double roll?  yikes! 
here's my version:


i found an amazing tutorial at jones design company  on how to create the look myself.
(by the way, don't you love her blog and style?!)
it's ok, click over there, look around, and come back........
i'll wait.......

k, you're back--
i followed the tutorial pretty closely,
printed off the stencil template,
cut it out of cardboard,
traced it onto the wall (i left it white, but you could paint the wall any color first),
then painted inside the lines with behr ultra venus light in eggshell.

now, there were a few things i discovered as i went along and thought you'd like to know them BEFORE you do your own hand painted wallpaper.

my tips:
1.  this is a time consuming project:  take it a little bit at a time.  i did it during nap time for about 30-40 minutes for about 5-6 days.  my eyes couldn't take much more than that!

2.  use low contrast colors.  i used white and a light blue/aqua that made any mistakes or crookedness fairly invisible.  (i like the subtle excitement thing--i did a similar effect with the stripes in our kitchen)
same color, different finish
3.  use a colored pencil to trace the stencil---duh!  i didn't think of this until i was done with the wall, but it would've made covering the tracings a lot easier if i would've used a light blue pencil to start with.  you're welcome :)

4.  do this for the ceiling:


5.  mark which end of the stencil is "up" and make sure it is always facing the same direction.

 
6.  start in the middle at the ceiling and use a level to make your first couple of columns.  i "eye-balled" it the rest of the time, but worked from the horizontal center up.  it helps to do a combination of rows and columns simultaneously so that you can gauge the distance between the stencils/levelness, etc.  here's what i mean:  pretend this is my wall--


7.  this is sort of a no-brainer, but when painting always paint the lines to your left first (assuming you are right handed) so you don't put your hand in wet paint a million times...just saying....
 

now sit back, admire your hard work, and feel good that it cost a measly $3.99 for a whole new room!

more pictures to come as i finish the room..........hopefully in time for my sister and her family who are staying with us this weekend!


linkin' up here this week:

IhookedupwithHoHlamespice


&

Catch a Glimpse Button


5.04.2011

stenciled summer tablerunner

she's at it again!  that sister of mine (emily) has created another of her oh-so-cute and easy projects.

don't they look like they belong on the cover of a magazine......oh wait they were!

you might remember i introduced you to her work with fabric rosettes:


or her brown paper stair redo:


here's a couple of new wreaths she made (aren't they just adorable?!):


and today's project is my new favorite---a stenciled summer table runner


1.  cut piece of fabric to desired length and width (you can hem the edges if you aren't going for the shabby chic look)


2.  using a stencil stamp (this one from a local store by donna downey), acrylic paint, and small paintbrush, dab paint onto stamp, press on fabric, and then fill in more completely using the paintbrush. 


3.  easy peasy!......and so cute, too!


i'm in love with the center piece and those darling birdie tea lights.


here are a couple of really cute stencils that i want to do something with in the near future.  check them out for yourself!


i created a similar stencil print in photoshop that you can download and make into your own stencil if you want to.  here's some directions for doing so-----printing and cutting your own stencil.

thank you, emily, for inspiring me to be creative once again!

Catch a Glimpse Button


3.23.2011

reusable spring wreath tutorial


everybody and their brother is making a spring wreath these days
(at least it seems that way in craft blogland).
so, not wanting to be left out,
here is my version of the yarn/fabric flower spring wreath:
(oooh, and my flowers are attached with velcro, so you will be seeing this wreath every season but with different accessories!  i love it when i save myself time and money!!!)

Materials:
1.  foam wreath base
2.  fabrics of your choice (cottons, felt, lace, etc)
3.  accessories of your choice (buttons, ribbon, pearls, etc)
4.  glue gun/glue sticks
5.  velcro
6.  scissors
7.  candle or lighter


Step 1: wrap the base with fabric
i used an unused receiving blanket that someone gave me before R was born.  it is a soft cotton and does well with clinging to the base ---PLUS, it was free and i already had it on hand----PLUS, i think it is a color that will go well with all seasons!

cut strips of the fabric about 1.5-2 inches wide

hot glue both ends of the strips--before and after wrapping

wrap at a slight angle and pull tightly as you wrap


stop the strip toward the back of the base and cut it if it is too long

don't worry about a few wrinkles, i like the "not perfect" look and think it gives texture


step 2:  make the flowers:
here's the twisted rosette tutorial.

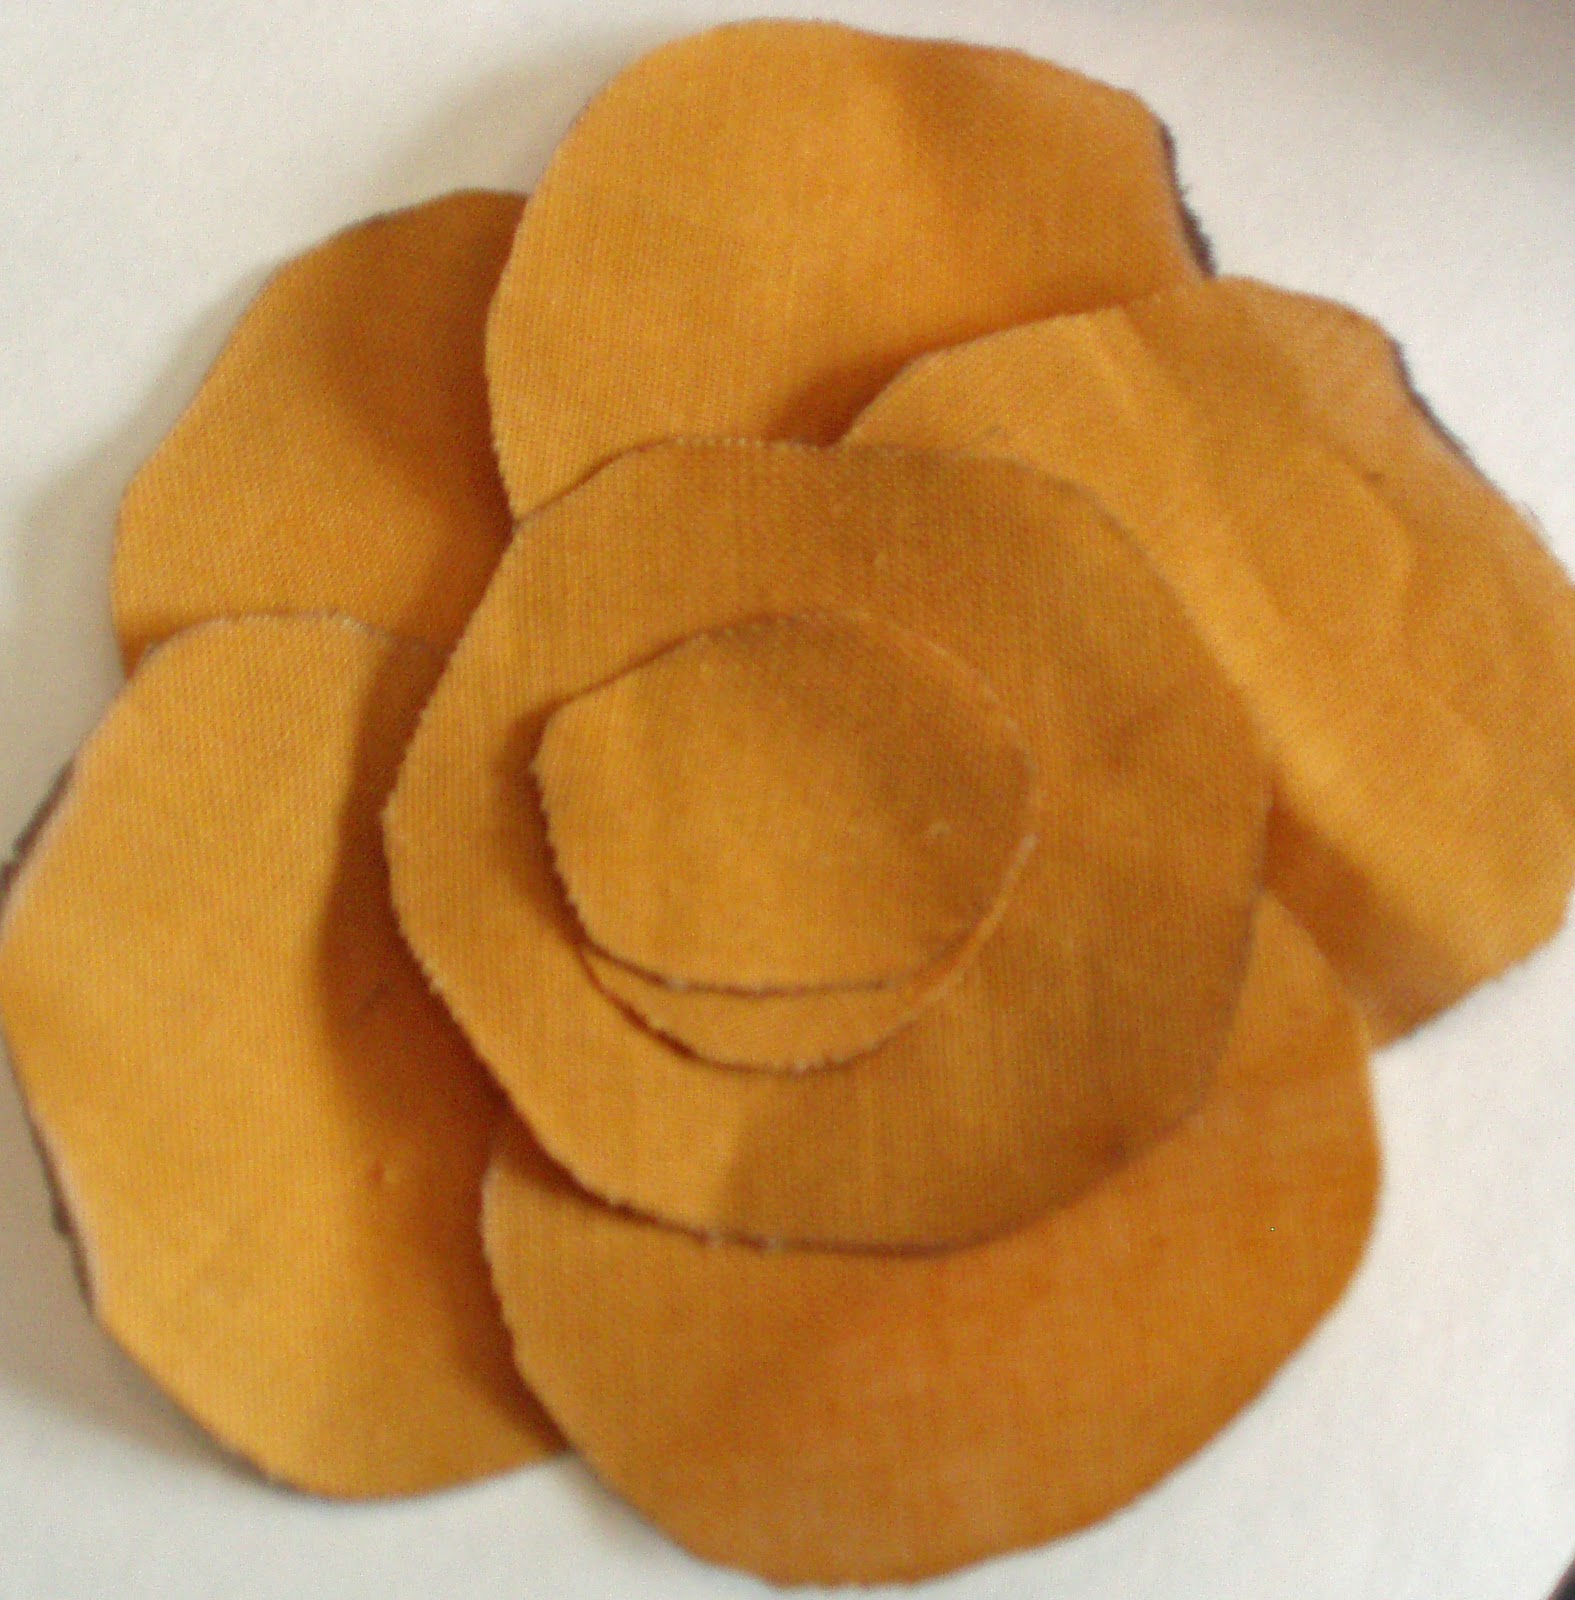
cut out 6-7 circles out of the fabric of choice
i run the edges through the flame to sear them.  this helps so that they don't fray as much and it adds an antiqued look to the petals.  this works really well with keeping ribbon from fraying.


cut out a circle base made of a coordinating felt color

arrange by overlapping and hot glue them together and on top of the felt base

add accessories like pearls, buttons, lace, leaves, etc

hot glue a velco strip to the back of each flower
step 3:  assemble complete wreath

hot glue the other side of the velcro strip to the wreath base

add a string of pearls to hang the wreath from (you could also use ribbon or yarn, etc) 

step 4:  hang and enjoy!


the best thing about this wreath is that everything (except the base color) can be changed depending on the season or holiday

1.  the green ribbon is fastened only by the bow and can be untied and changed
2.  the flowers are connected by velcro 
3.  the pearl loop is connected with a twist tie and is easily interchangeable with a pretty ribbon or string

thank goodness spring has finally arrived!
that only means one thing to me,
summer,
is well on its way!


i'm linking up to these parties.  check out all the great stuff that is being showcased today!

blue cricket designs
someday crafts
sisters' stuff