Showing posts with label tutorials. Show all posts

5.04.2011

stenciled summer tablerunner

she's at it again!  that sister of mine (emily) has created another of her oh-so-cute and easy projects.

don't they look like they belong on the cover of a magazine......oh wait they were!

you might remember i introduced you to her work with fabric rosettes:


or her brown paper stair redo:


here's a couple of new wreaths she made (aren't they just adorable?!):


and today's project is my new favorite---a stenciled summer table runner


1.  cut piece of fabric to desired length and width (you can hem the edges if you aren't going for the shabby chic look)


2.  using a stencil stamp (this one from a local store by donna downey), acrylic paint, and small paintbrush, dab paint onto stamp, press on fabric, and then fill in more completely using the paintbrush. 


3.  easy peasy!......and so cute, too!


i'm in love with the center piece and those darling birdie tea lights.


here are a couple of really cute stencils that i want to do something with in the near future.  check them out for yourself!


i created a similar stencil print in photoshop that you can download and make into your own stencil if you want to.  here's some directions for doing so-----printing and cutting your own stencil.

thank you, emily, for inspiring me to be creative once again!

Catch a Glimpse Button


5.03.2011

stacked flower pots tutorial

stacked flower pots tutorial


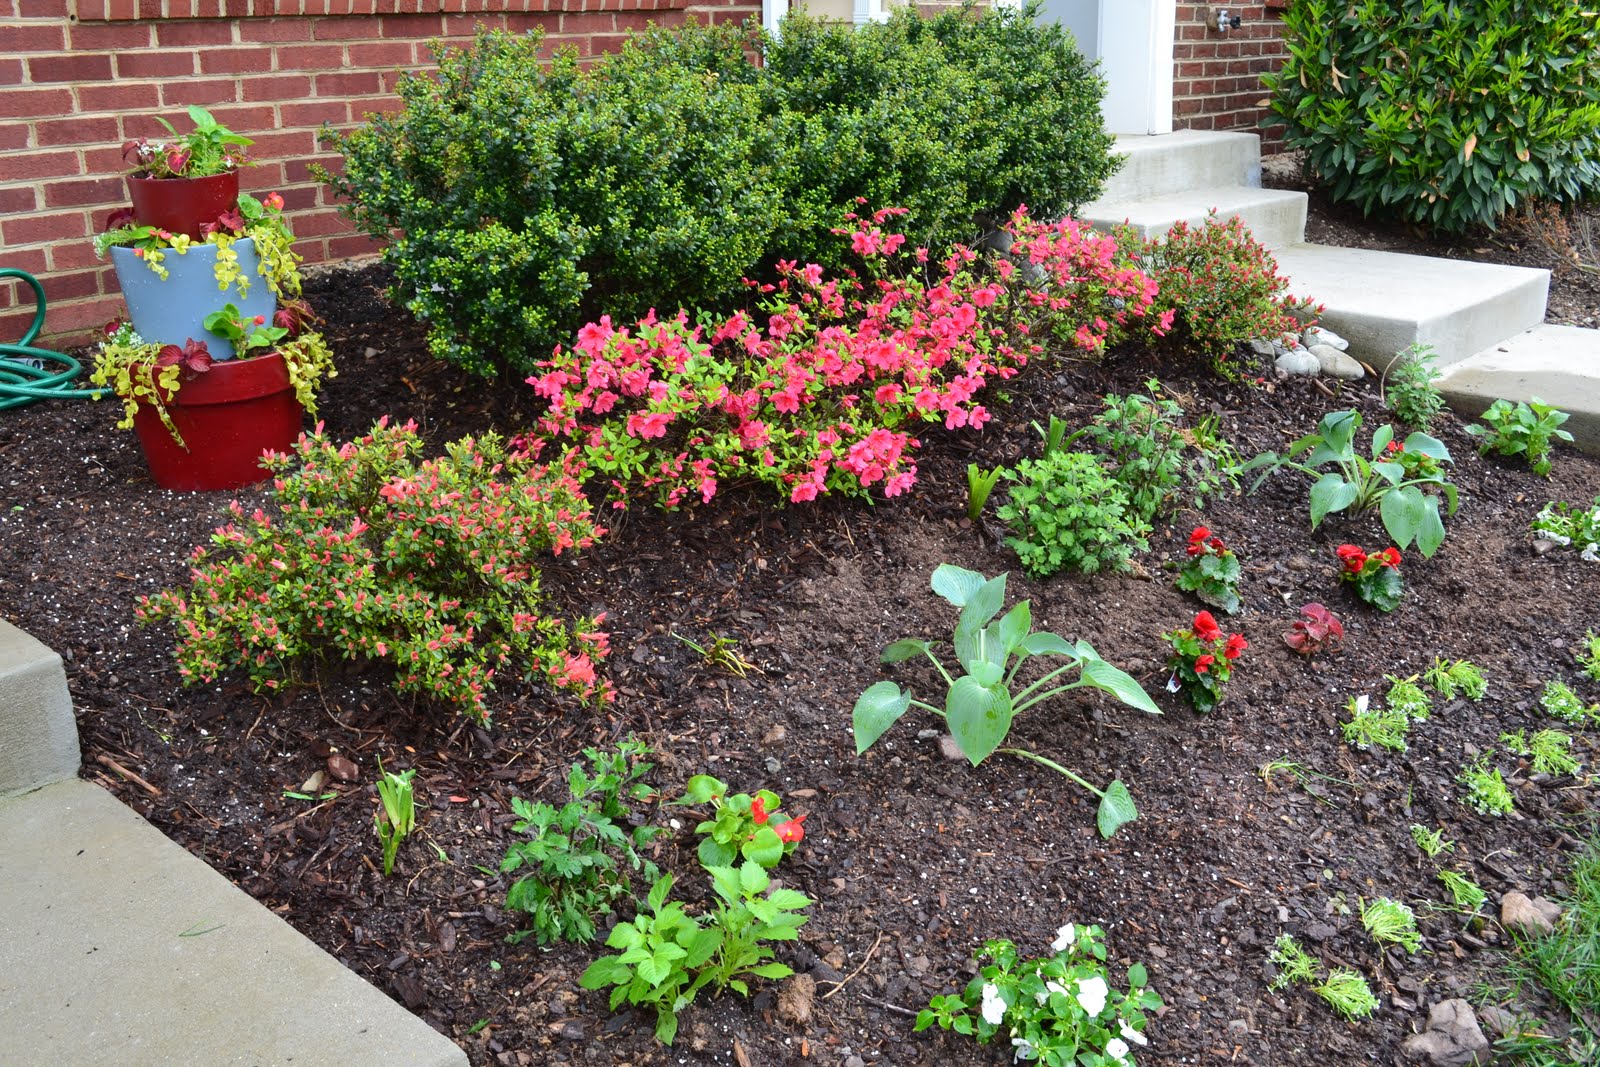
i found this idea @ positively splendid and couldn't quit thinking dreaming about it!  i just had to make one for the vacant spot in my flower bed where a big bush died last fall. 

materials:
3 terracotta/clay planter pots (mine are from ikea and so cheap!)
thompson's water seal spray
2 colors of spray paint (mine is rustoleum ultra cover 2X in satin finish)
dropcloths/ newspaper
bricks (i used empty paint cans)
smashed pop (as we mid westerners call it) or soda (as the rest of the world calls it) cans
potting soil
flowers

step 1:  spray the inside of the pots with thompson's water seal--let dry


step 2:  spray paint the pots according to the paint directions--preferably outside on a sunny gorgeous day.  you will want the largest and smallest pot painted the same color--let dry.


step 3:  put an empty gallon paint can inside the biggest pot and smashed soda cans around it for drainage.  i think this is much better than putting rocks or something similar, because it makes the pot so much lighter to lift if needed.  fill with potting soil.


continue the same thing for each of the pots (i used a quart paint bucket for the middle pot and only soil and cans for the smallest one.

step 4:  stack each of the pots on top of the next.  i created a bit of a hole for each one to sit snugly into. 


step 5:  fill with flowers, water, and enjoy!


i really enjoy planting and tending to my flower bed.  i would looooovvvee to have a garden someday.

 azaleas


hosta (from aldi $4.99)

begonias (my fav)


a girl's gotta work with what she has...(even if it is only 8 square feet!)

the whole she-bang